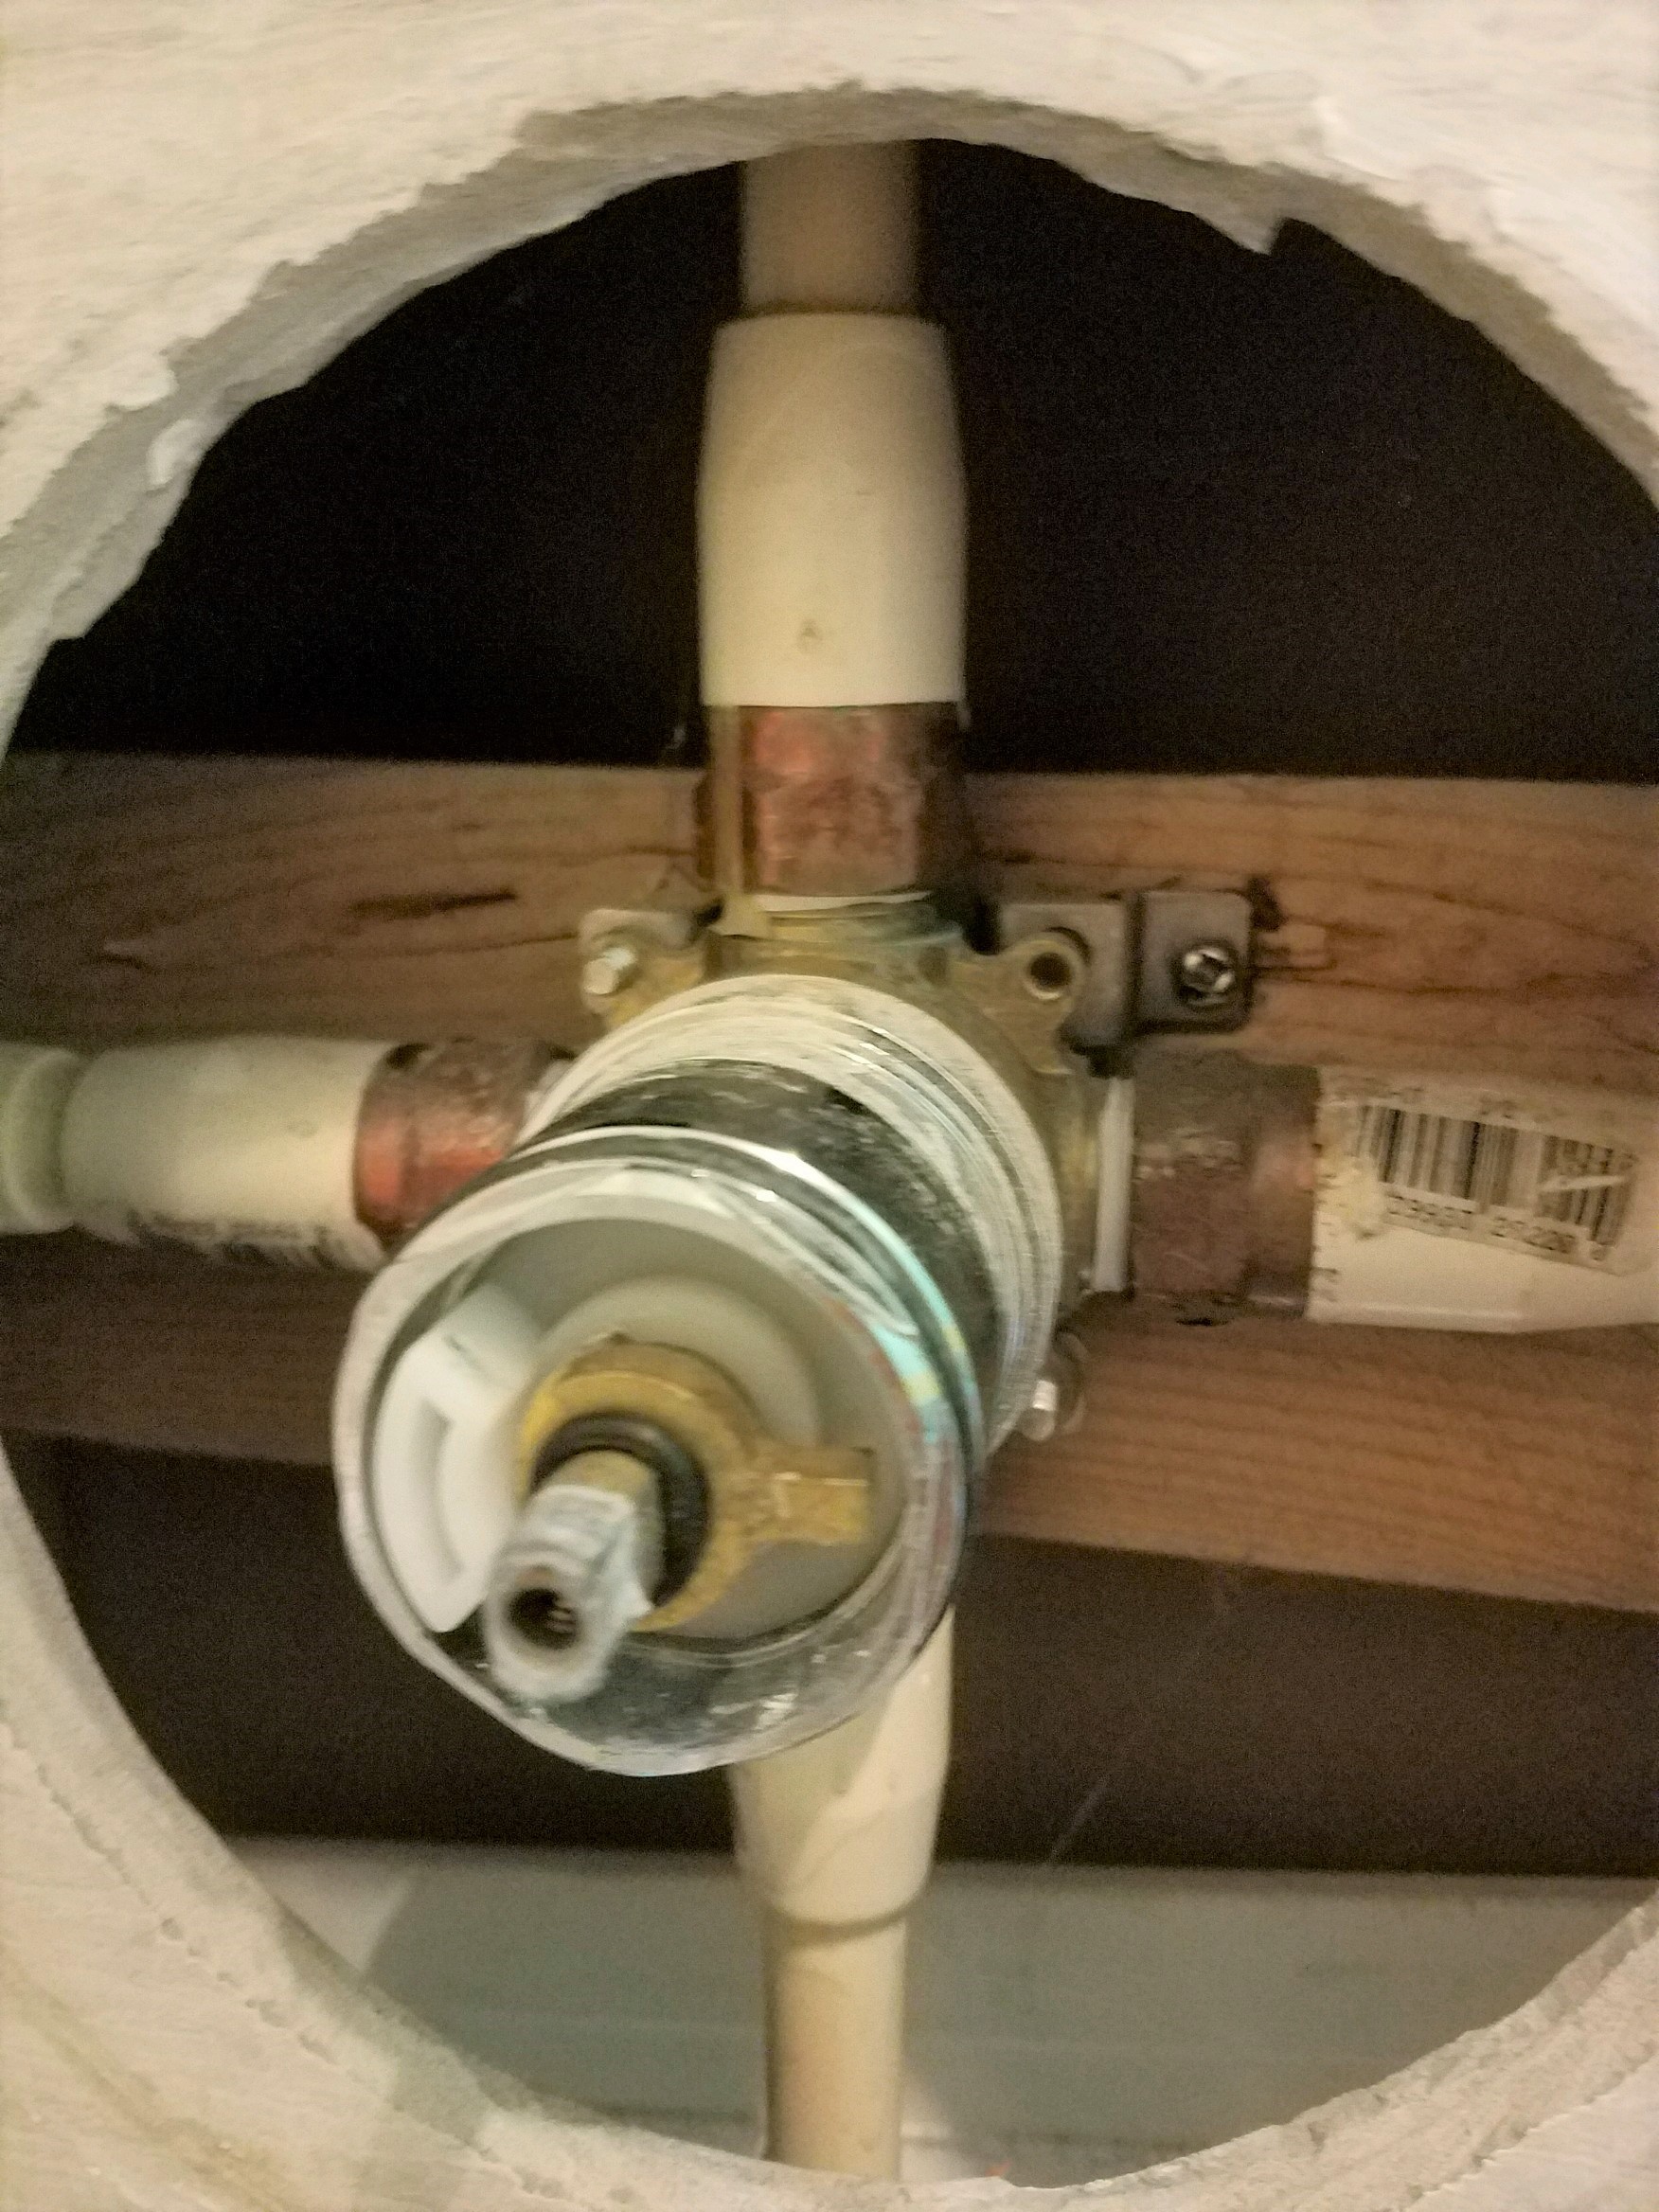
Conquer Your Shower Upgrade: A Guide to Replacing a Delta Shower Valve
Is your shower giving you lukewarm greetings instead of hot, invigorating streams? A faulty shower valve might be the culprit. This guide will walk you through the process of replacing an old Delta shower valve, transforming your daily shower from a frustrating experience into a refreshing escape.
Upgrading your shower valve can seem daunting, but with the right preparation and a clear understanding of the steps involved, it’s a manageable DIY project. This comprehensive guide will empower you to tackle this task with confidence, saving you money on plumbing costs and giving you the satisfaction of a job well done. We’ll cover everything from identifying your current valve to troubleshooting common issues.
Delta faucets are known for their durability and innovative designs. However, even the most reliable valves eventually wear out. Over time, mineral buildup, worn-out cartridges, and corroded parts can lead to leaks, inconsistent water temperature, and reduced water pressure. Recognizing these signs early on is crucial to prevent further damage and ensure a comfortable showering experience.
Replacing a Delta shower valve not only solves immediate plumbing problems but also offers several long-term benefits. Upgrading to a newer model can significantly improve water efficiency, leading to lower water bills. Modern Delta valves often incorporate features like temperature control and pressure balancing, enhancing safety and comfort. Moreover, a new shower valve can instantly elevate the look and feel of your bathroom.
Before you begin the replacement process, it's essential to understand the different types of Delta shower valves. From single-handle to dual-handle and thermostatic valves, each type has its own unique installation requirements. Correctly identifying your current valve is the first step towards a successful replacement.
While Delta has been a prominent name in plumbing fixtures for decades, the specific design and installation process for shower valves have evolved over time. Early models might require different tools and techniques compared to newer, more advanced versions. Understanding these historical nuances can help streamline the replacement process.
A dripping shower valve isn't just annoying; it's a significant waste of water and money. A malfunctioning valve can also lead to uncomfortable temperature fluctuations and potentially even scalding. Addressing these issues promptly by replacing the old valve ensures a safe and efficient shower experience.
One benefit of replacing an old Delta shower valve is enhanced water efficiency. Modern valves are designed to minimize water waste, potentially saving you money on your utility bills. For example, a new Delta valve might have a flow restrictor that limits the amount of water used without sacrificing water pressure. Another benefit is improved temperature control. Newer valves often offer more precise temperature regulation, preventing sudden bursts of hot or cold water. This is especially important for households with children or elderly individuals. Lastly, a new valve adds aesthetic appeal. Replacing a dated, worn-out valve with a sleek, modern design can instantly upgrade the look of your bathroom.
Action Plan:
1. Turn off the water supply to the shower.
2. Remove the old valve handle and trim.
3. Identify the type of Delta valve you have.
4. Purchase a compatible replacement valve.
5. Follow the manufacturer's instructions for installation.Advantages and Disadvantages of Replacing a Delta Shower Valve
| Advantages | Disadvantages |
|---|---|
| Improved water efficiency | Initial cost of the new valve |
| Enhanced temperature control | Time investment for installation |
| Enhanced aesthetic appeal | Potential for unforeseen complications |
FAQ:
Q: How do I know if my Delta shower valve needs replacing? A: Signs include leaks, inconsistent temperature, and low water pressure.
Q: Can I replace the valve myself? A: Yes, with the right tools and instructions, it’s a manageable DIY project.
Q: Where can I find a replacement Delta valve? A: Home improvement stores and online retailers.
Q: What tools do I need? A: Common tools include screwdrivers, pliers, and a pipe wrench.
Q: How long does the replacement process take? A: It can vary, but typically a few hours.
Q: What should I do if I encounter problems during installation? A: Consult the manufacturer's instructions or seek professional help.
Q: How do I maintain my new Delta shower valve? A: Periodic cleaning and inspection can prevent future problems.
Q: Are there different types of Delta shower valves? A: Yes, single-handle, dual-handle, and thermostatic are common types.
Tips and Tricks: Take clear photos of the valve before disassembly. This will help during reassembly. Apply plumber's putty to the valve trim for a watertight seal.
Replacing your old Delta shower valve is a rewarding project that enhances both the functionality and aesthetics of your bathroom. By addressing issues like leaks and inconsistent water temperature, you not only improve your daily shower experience but also save water and money. While the process might seem intimidating at first, with careful planning and execution, it's a manageable DIY task. From improved water efficiency to enhanced temperature control and a fresh, modern look, the benefits of replacing your old Delta shower valve are significant. Don't hesitate to take on this upgrade and enjoy the refreshing results of a perfectly functioning shower.
Pennzoil 20w50 racing oil unleashing high performance potential
815 branch st rocky mount nc 27801 unmasking the enigma
Unlocking potential the impact of young hee lee at sungkyunkwan university


