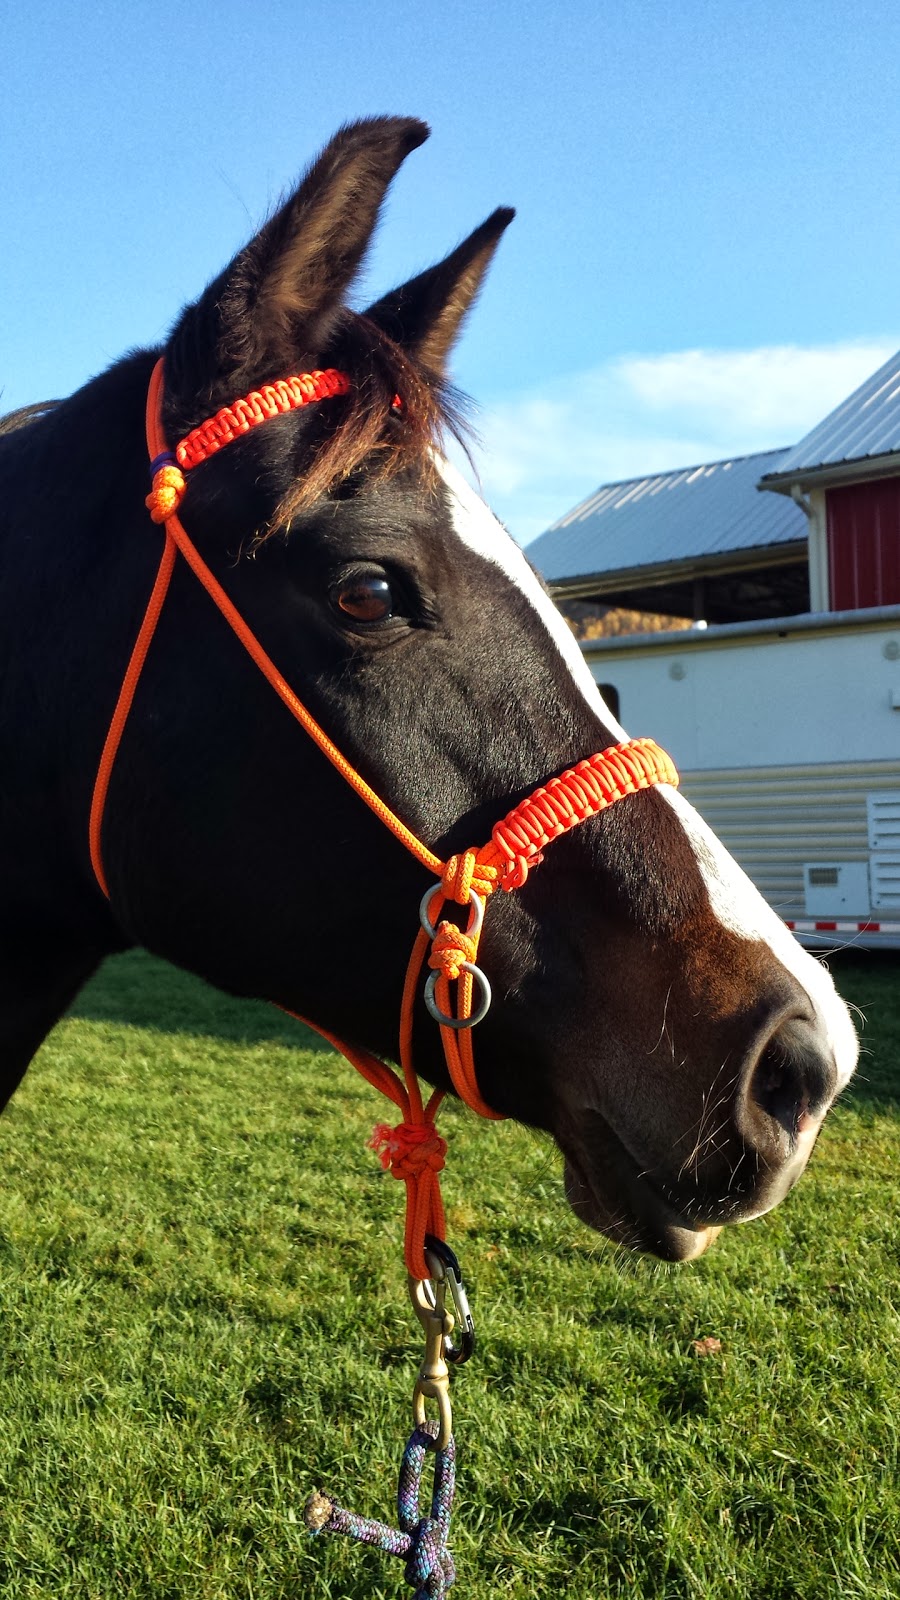
Hacking the Halter: Master the Art of Rope Knots
Ever wondered how that seemingly simple length of rope transforms into a functional, even elegant, horse halter? The art of tying a rope halter isn't just a cool cowboy trick; it’s a practical skill rooted in history and horsemanship. This guide deconstructs the process, offering a deep dive into the techniques, history, and nuances of crafting this essential piece of equine equipment.
Rope halters offer a lightweight, adjustable, and often more humane alternative to traditional leather or nylon halters. Understanding the core principles behind halter construction allows for customization and a deeper connection with the animal. From the initial loop to the final knot, each step in the tying process plays a crucial role in the halter's effectiveness and the horse's comfort. So, let's unravel the secrets of this time-honored practice.
The origins of rope halters are intertwined with the history of horsemanship itself. Likely evolving from simple lead ropes, these early halters provided a means of control and communication. As different cultures interacted and horsemanship practices developed, various knotting techniques emerged, each reflecting specific needs and traditions. From the vaqueros of the American West to nomadic herders across the globe, the rope halter became a ubiquitous tool.
Constructing a rope halter involves understanding the interplay of tension, friction, and knot security. A poorly tied halter can be uncomfortable for the horse, slip, or even break, posing safety risks. This is why precise rope halter tying directions are crucial. Mastering the core knots, such as the fiador knot, the crown knot, and various adjustable loops, is essential for crafting a functional and safe halter.
The most common issue encountered when learning to tie a rope halter is achieving the correct tension and balance throughout the structure. A too-tight halter can cause discomfort and rubbing, while a loose halter can be ineffective and potentially dangerous. Practice and attention to detail are key to finding the sweet spot where the halter fits snugly but allows for freedom of movement.
Different rope materials and diameters can influence the tying process and the final result. Softer ropes like cotton or poly-blend offer more flexibility and are easier on the horse's skin, while stiffer ropes like nylon provide greater durability and hold their shape better. The diameter of the rope should be appropriate for the horse's size and intended use of the halter.
Benefit 1:Customization: Unlike pre-made halters, a rope halter allows for adjustments in size and fit, catering to the specific needs of the horse. For instance, a growing young horse can benefit from a halter easily adjusted as they mature.
Benefit 2:Communication: The direct pressure and release provided by a rope halter enhances communication between horse and handler. A slight tug on the lead rope translates into a clear signal, promoting responsiveness and understanding.
Benefit 3:Lightweight and Portable: Rope halters are incredibly lightweight and easy to pack, making them ideal for trail riding, camping, or any situation where portability is a factor.
Action Plan for Learning: Start with a quality length of rope, approximately 12-14 feet. Watch instructional videos and practice the basic knots. Begin with simple halters and gradually progress to more complex designs. Seek guidance from experienced horsepeople and refine your technique through consistent practice.
Advantages and Disadvantages of Rope Halters
| Advantages | Disadvantages |
|---|---|
| Customizable fit | Can be less durable than leather |
| Enhanced communication | Requires practice and skill to tie correctly |
| Lightweight and portable | Not suitable for all situations (e.g., tying a horse securely) |
Best Practices: 1. Use high-quality rope. 2. Practice knots diligently. 3. Ensure proper fit. 4. Inspect the halter regularly for wear and tear. 5. Learn different knotting techniques for varied applications.
FAQ: 1. What type of rope is best for a halter? 2. How long should the rope be? 3. What are the most important knots to learn? 4. How do I adjust the fit of a rope halter? 5. Can I use a rope halter for riding? 6. How do I clean a rope halter? 7. Where can I find reliable rope halter tying instructions? 8. Are there different types of rope halters?
In conclusion, understanding the nuances of rope halter tying empowers horse owners with a versatile and effective tool for communication and control. From its rich history to its practical applications, the art of tying a rope halter represents a deeper connection with the equine world. By mastering the techniques and embracing the principles of this time-honored practice, you can enhance your horsemanship skills and build a stronger bond with your horse. Take the time to learn, practice, and appreciate the craft of rope halter tying—it’s a skill that will serve you and your horse well for years to come. So, grab your rope and start knotting! Explore resources, connect with experienced horsepeople, and unlock the full potential of this essential piece of equine equipment. The journey of a thousand knots begins with a single loop.
Overcoming fear the enduring appeal of the monster at the end of this book
Finding the right fuel filter in australia
Ultimate guide to snagging a malibu wakesetter 23 lsv


