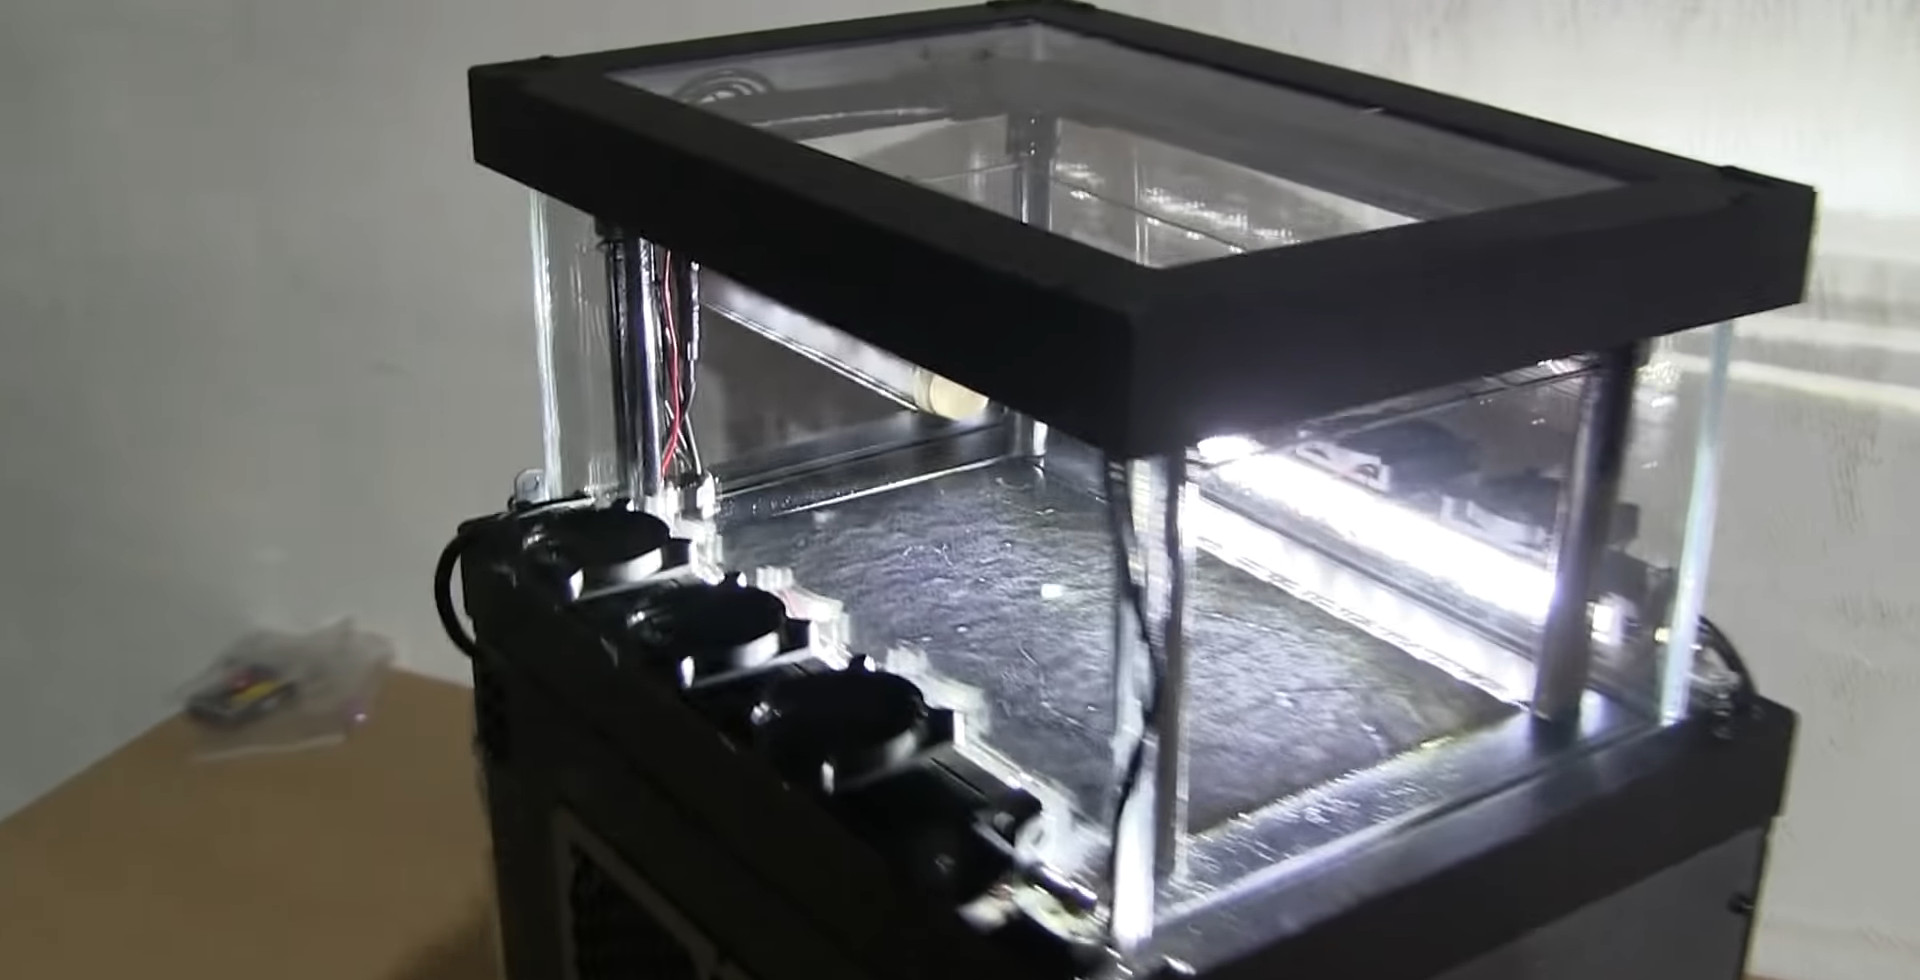
See the Invisible: A Guide to Building Your Own Cloud Chamber
Ever wondered about the invisible world buzzing around us? The air we breathe, the objects we touch, everything is made up of tiny particles we can't see. But what if you could? Imagine witnessing the ghostly trails of subatomic particles right in your living room. With a simple device called a cloud chamber, this incredible experience is within reach. This guide will walk you through constructing a cloud chamber at home, opening a window into the fascinating realm of particle physics.
Creating a cloud chamber isn't as complex as it sounds. It's a rewarding project that combines simple materials with a touch of scientific magic. Think of it as a DIY particle detector, revealing the invisible dance of particles that constantly bombard our planet from space and radioactive sources. This project is perfect for science enthusiasts of all ages, sparking curiosity and offering a tangible connection to the abstract world of quantum physics.
The concept of a cloud chamber dates back to the late 19th and early 20th centuries. Scottish physicist Charles Thomson Rees Wilson is credited with its invention, earning him the Nobel Prize in Physics in 1927. His initial purpose was to study cloud formation, but he soon realized the device's potential for visualizing ionizing radiation. This discovery revolutionized particle physics, providing a crucial tool for observing and identifying various subatomic particles.
Constructing a cloud chamber involves creating a supersaturated environment of isopropyl alcohol vapor. When a charged particle passes through this environment, it ionizes the air molecules along its path. These ions act as condensation nuclei, causing the alcohol vapor to condense into tiny droplets, forming visible trails that trace the particle's trajectory. The key is achieving and maintaining the right temperature gradient and a sealed environment.
One of the main challenges in building a cloud chamber is achieving and maintaining the supersaturated environment. This requires a delicate balance of temperature and pressure, which can be tricky to achieve at home. Issues like insufficient cooling, leaks in the chamber, or using the wrong type of alcohol can hinder the formation of visible tracks. However, with careful preparation and execution, these challenges can be overcome.
Building a cloud chamber at home offers several benefits. First, it provides a hands-on learning experience, allowing you to visualize abstract concepts in physics. Second, it sparks curiosity about the universe and its fundamental building blocks. Finally, it's a fun and engaging project that can be enjoyed by the whole family.
To build a cloud chamber, you'll need a few materials: a clear container (like a fish tank or a plastic food container), isopropyl alcohol (91% or higher), dry ice, a metal plate (slightly smaller than the container's base), felt, black construction paper, and a strong flashlight or other bright light source. You'll soak the felt in the alcohol, attach it to the underside of the metal plate, place the dry ice at the bottom of the container, and set the plate on top. Seal the container and shine the light through the side to observe the particle tracks.
Advantages and Disadvantages of Building a Cloud Chamber
| Advantages | Disadvantages |
|---|---|
| Educational and engaging | Requires specific materials (dry ice) |
| Relatively inexpensive to build | Can be challenging to achieve optimal conditions |
| Visualizes otherwise invisible phenomena | Tracks can be faint and difficult to see sometimes |
Best Practices:
1. Use high-concentration isopropyl alcohol.
2. Ensure a tight seal on the container.
3. Use enough dry ice to create a significant temperature difference.
4. Allow the chamber to stabilize for several minutes before observing.
5. Use a strong light source for optimal visibility.
Frequently Asked Questions:
1. Where can I get dry ice? Many grocery stores and ice cream shops sell dry ice.
2. What type of alcohol should I use? 91% or higher isopropyl alcohol is recommended.
3. Why aren't I seeing any tracks? Ensure a good seal, sufficient cooling, and proper lighting.
4. Is it safe to handle dry ice? Always handle dry ice with gloves to avoid burns.
5. Can I reuse the alcohol? Yes, the alcohol can be reused multiple times.
6. What types of particles can I see? You can see alpha and beta particles, as well as muons.
7. How long will the cloud chamber last? The chamber will last as long as the dry ice provides sufficient cooling.
8. Can I build this with kids? Yes, with adult supervision due to the dry ice.
Tips and Tricks: A dark room enhances visibility. Shining the light at an angle can highlight the tracks. Placing a small radioactive source (like a piece of granite) near the chamber can increase the number of tracks.
Building a cloud chamber at home is a remarkable journey into the invisible world of subatomic particles. It's an opportunity to witness firsthand the fundamental forces that shape our universe. From the historical significance of its invention to the simple yet profound principles behind its operation, creating a cloud chamber is a rewarding experience. While there are challenges in achieving the ideal conditions, the payoff of seeing those ghostly trails is well worth the effort. This project is more than just a science experiment; it's a portal to the unseen, sparking curiosity and a deeper appreciation for the wonders of the universe. So, gather your materials, follow the steps, and prepare to be amazed by the hidden world revealed in your very own cloud chamber. Take the leap and explore the invisible!
The refreshing history of mountain dews creators
Fifa 24 on xbox one the final whistle
The art of evasion who has the best footwork in boxing


