Yamaha Waverunner Engine Removal: A Comprehensive Guide
Is your Yamaha Waverunner giving you engine trouble? A sputtering engine, loss of power, or strange noises can signal the need for serious attention. Sometimes, the solution involves pulling the engine. This might seem daunting, but with the right knowledge and preparation, Yamaha Waverunner engine extraction can be a manageable task for the mechanically inclined. This guide will provide you with a comprehensive overview of the process, from preparation to reinstallation considerations.
Deciding to undertake a Yamaha Waverunner engine removal is a significant decision. It’s crucial to first diagnose the problem accurately. Is it truly an engine issue, or could the problem lie elsewhere, such as the electrical system or fuel delivery? Misdiagnosis can lead to unnecessary work and expense. This guide will delve into common reasons for engine removal, helping you determine if extracting the power plant is the right course of action for your situation.
The history of Yamaha Waverunner engine removal is intertwined with the evolution of personal watercraft (PWC) technology. As engines have become more complex and integrated with other systems, the process of removal has become more involved. Early models often allowed for relatively simple engine access. However, modern Waverunners require more intricate procedures due to their compact designs and sophisticated components. Understanding this evolution provides context for the complexities involved in modern PWC engine work.
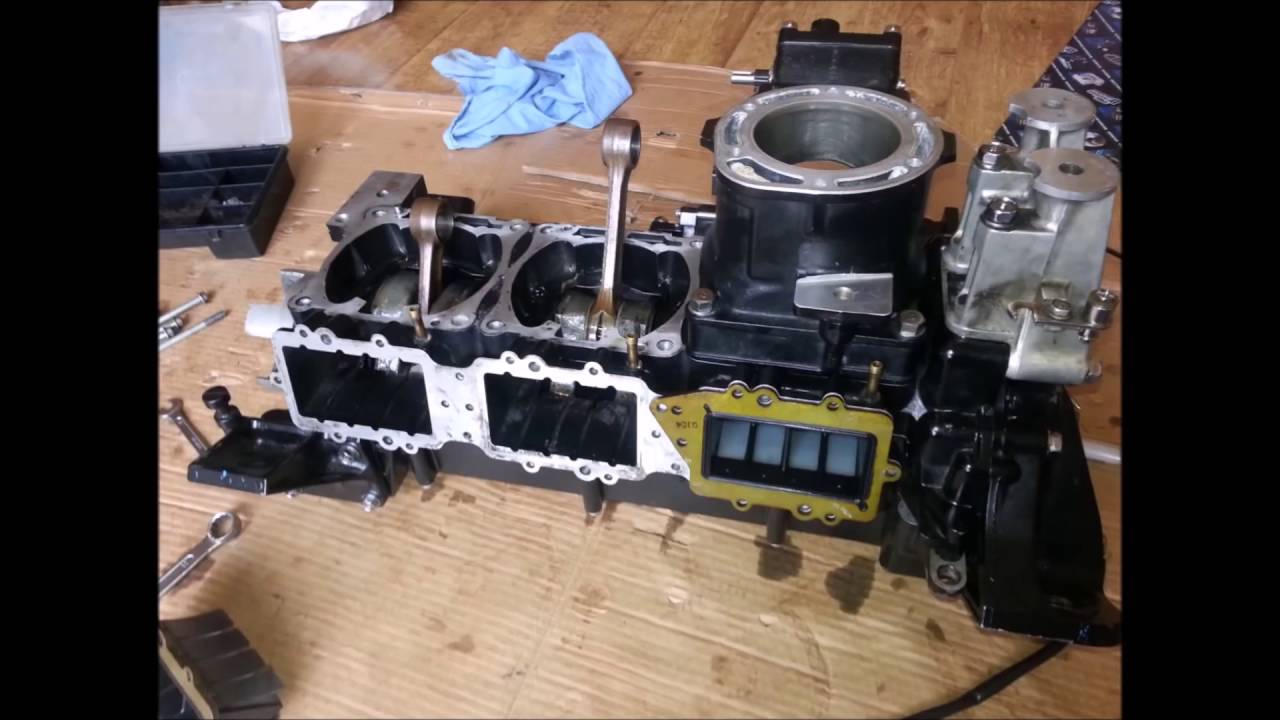
One of the primary reasons for undertaking a Yamaha Waverunner power plant extraction is to perform major repairs or overhauls. This could include anything from replacing a damaged crankshaft to rebuilding the entire engine block. Removing the engine provides access to all its internal components, facilitating thorough inspection and repair. Another common reason is to replace a worn-out or failing engine with a new or rebuilt one. Sometimes, removing the engine is necessary to access other parts of the watercraft, such as the jet pump or hull components.
Before embarking on this project, it’s essential to gather the necessary tools and resources. This typically includes a workshop manual specific to your Waverunner model, a comprehensive socket set, wrenches, screwdrivers, and specialized tools for disconnecting fuel lines and electrical connectors. Having the correct tools on hand will significantly streamline the process and prevent unnecessary delays. Additionally, having a clean and organized workspace is crucial for a successful engine pulling procedure.
Several benefits can be derived from understanding and undertaking a Yamaha Waverunner engine removal process yourself. Firstly, substantial cost savings can be realized by avoiding expensive labor charges at a professional repair shop. Secondly, it empowers you with valuable knowledge and skills related to your PWC's mechanics, allowing for more informed decision-making in the future. Lastly, successfully completing the engine removal can be a rewarding experience, giving you a deeper understanding and appreciation for the intricacies of your watercraft.
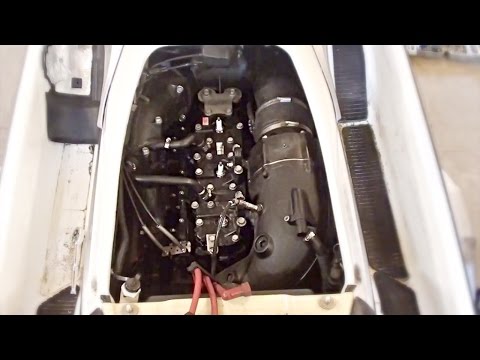
A successful Yamaha Waverunner engine removal involves careful planning and meticulous execution. Disconnect the battery, drain the fluids, and disconnect all fuel lines, electrical connectors, and cooling hoses. Label everything carefully for easy reassembly. Next, remove any components that obstruct access to the engine, such as the seat, exhaust system, and electrical boxes. Once the engine is free, carefully lift it out using a suitable hoist or with the assistance of another person. Ensure the engine is supported properly to prevent damage.
Advantages and Disadvantages of DIY Yamaha Waverunner Engine Removal
| Advantages | Disadvantages |
|---|---|
| Cost savings | Time-consuming |
| Increased knowledge and skills | Potential for errors |
| Personal satisfaction | Requires specialized tools and knowledge |
Best Practices for Yamaha Waverunner Engine Removal: 1. Disconnect the battery before starting any work. 2. Properly label all disconnected components. 3. Use a workshop manual specific to your model. 4. Work in a clean and organized space. 5. Support the engine properly during removal.
FAQs: 1. How long does it take to remove a Yamaha Waverunner engine? (Answer: It depends on the model and your experience, but it can take several hours.) 2. What tools do I need? (Answer: Consult your service manual for a complete list.) 3. Can I do this myself? (Answer: If you are mechanically inclined and have the proper tools, yes.)
In conclusion, Yamaha Waverunner engine removal is a complex but achievable task for those willing to invest the time and effort. Understanding the process, having the right tools, and following best practices can ensure a successful outcome. By taking on this project yourself, you can save money, gain valuable skills, and enjoy the satisfaction of maintaining your own PWC. Remember to always consult your service manual for specific instructions related to your Waverunner model. This guide serves as a general overview, and the specific steps may vary depending on the year and model of your watercraft. Careful planning, meticulous execution, and attention to detail are crucial for a successful engine removal and reinstallation. Don't hesitate to seek professional help if you encounter any challenges or are unsure about any aspect of the process. Taking the time to learn and understand the procedure can save you money and headaches down the road, allowing you to enjoy countless hours on the water with your Yamaha Waverunner.
Finding hope willard ny drug treatment options
The delicate art of the dumpling exploring ding tai fung toronto
Navigating the path to us citizenship


